Adding Post-Processing Profiles in Unity

With the lighting and emissions finished, we can truly dive into the post-processing phase!
Objective: Learn what a post-processing profile is and how to apply it to your project. I will be using anti-aliasing and bloom as an example of the post-processing effects
Note: Some of the post-processing options may vary per Unity version. Visit the official documentation if you encounter discrepancies.
What are Post-Processing Profiles?
Post-Processing Profiles are project assets that can be shared between scenes, cameras, or projects. Simply put, they store post-processing information like effects, and color changes that you can keep and apply to specific areas, objects, or to your entire scene. Profiles can be used to create a unique atmosphere for your levels and add in those finishing touches that bring your game world to life.
Here is an example provided by Unity where you can see an incredible before and after:


How to Add Post-Processing Profiles
- Go to Window → Package Manager → Post-processing

Install the package

Anti-Aliasing with Post Processing Layer
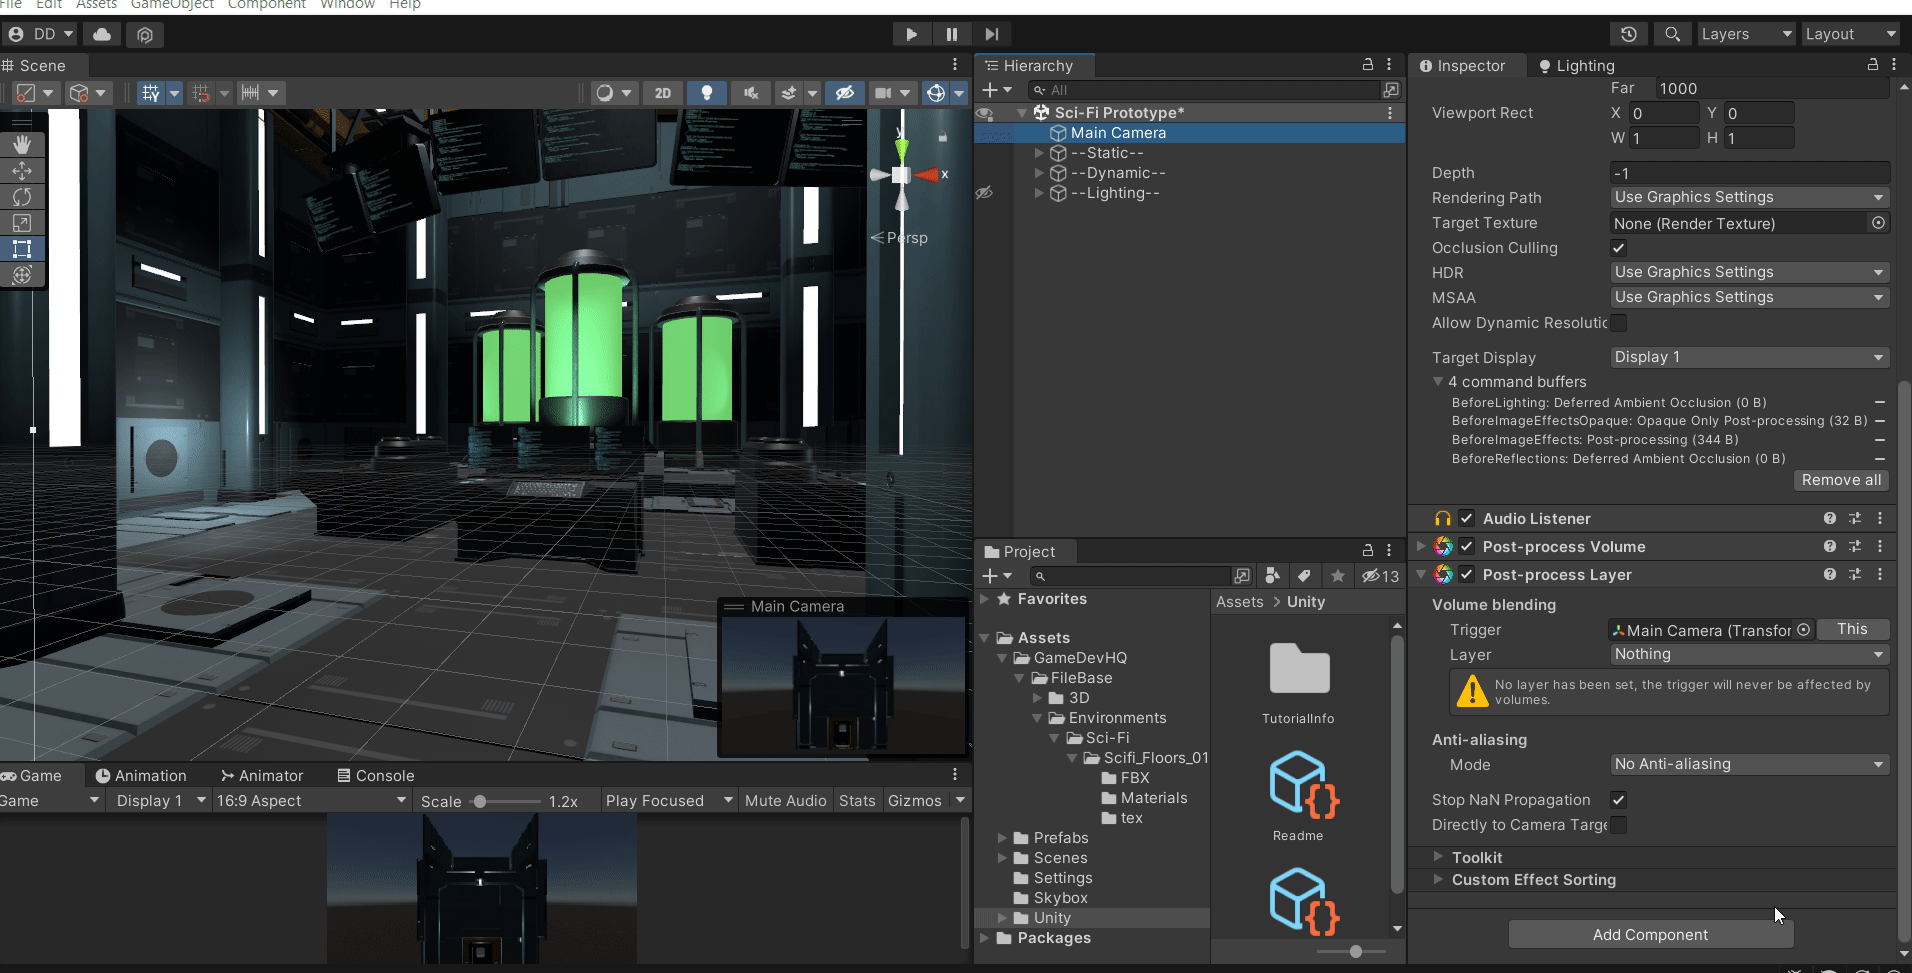
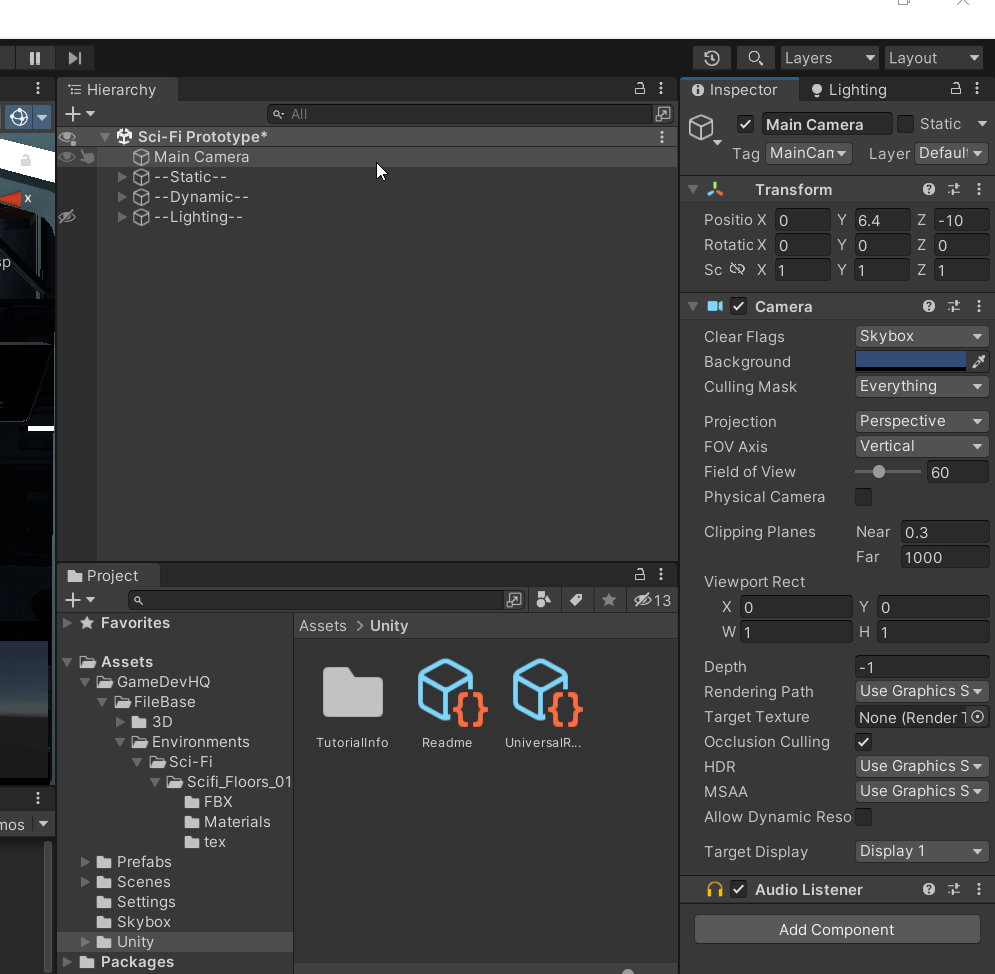
- With the package now installed, you can access the post-processing Component. Here, we will apply this component to the Main Camera.

2. When you add a Post-Processing Layer, you will see a warning message like this:
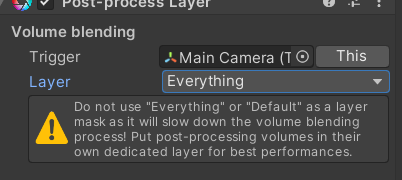
That means you need to create a layer to designate which parts of the scene will be affected by the post-processing layer. Creating a layer is very simple: Go to layers → edit layers. Here I had already typed in my Post-Processing layer.
Note: You can name this however you want.

Go to your main camera(or your camera of choosing) and change the layer to your newly created one.
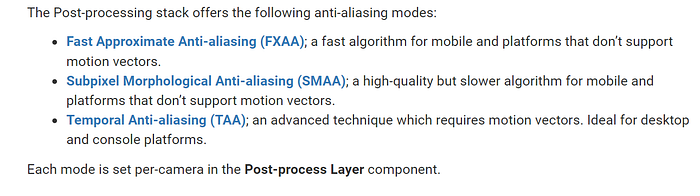
3. The Post-Processing Layer Component gives us access to anti-aliasing, which smooths over and reduces jagged edges in your scene making everything look cleaner.
There are various anti-aliasing options, you must select what best suits your project or equipment limitations.
Note: To make the Post-Processing Layer affect the entire scene, you must tweak the Global option.
Bloom as Post-Processing Effect
In my article on emissions, I mentioned how objects like lightsabers light up with their own glow — well a bloom effect would really bring a lightsaber to life! Bloom is an effect that causes emissive objects to exude light from their peripheries instead of just flatly lighting up.
Let’s take a look at the column lights below: The left has regular emission, whilst the right has Bloom + emission.


The difference is immediately apparent. The right has a more natural scattering of light and even a stronger glow.
How to add Bloom
For the sake of this example, I will focus on the intensity and tone of the Bloom, as well as how to add variety in said values per object.
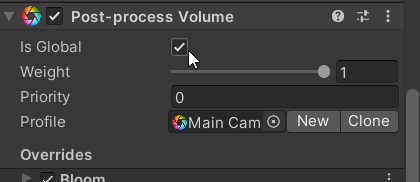
- To add Bloom, we need to add a different post-processing component called “Post-Processing Volume”. This component allows us to manipulate the volume of various adjustments in our scene such as color tones, vignette, and of course, Bloom among others.
2. The intensity allows us to control how much bloom is added. However, you can also control the individual value per object.

3. To adjust the value per object, select the object and go to the HDR of the Emission Texture. You can even set the tone of the lighting as well.
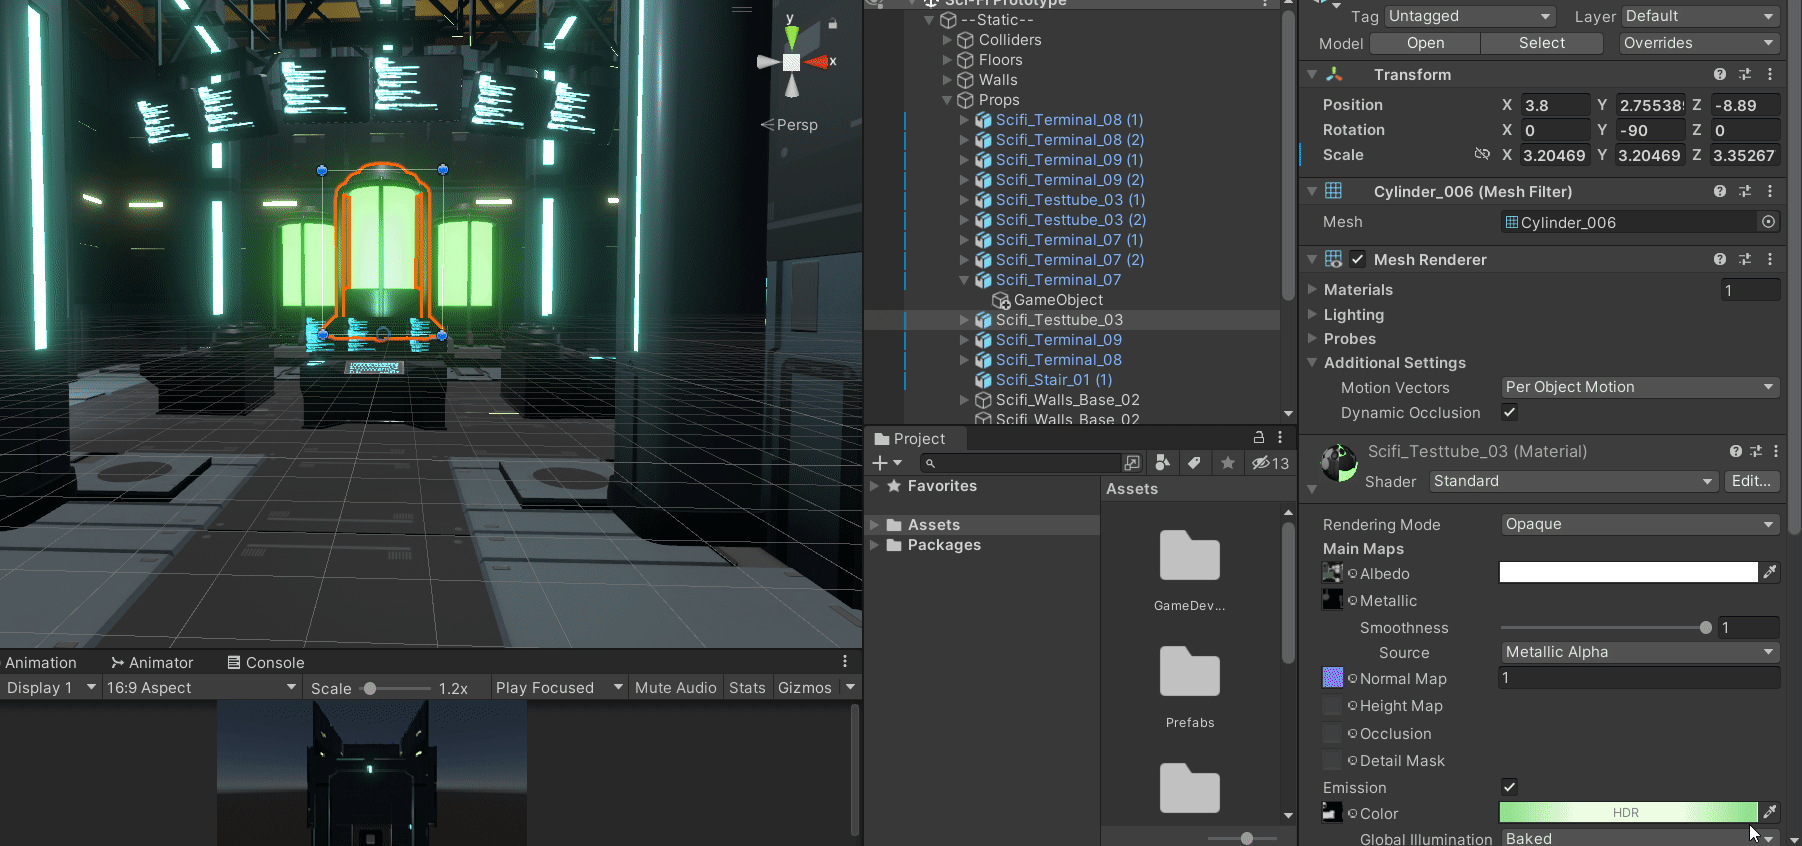
For my current Level Design Project, a Sci-fi Control Room, I used Bloom for all the emissive objects and customized each one to have its own intensity, and tonal variation.

Thanks for your time! I hope this helps you learn something new!
In the next article, I will be going over the importance of Occlusion Culling when it comes to performance.
Follow or subscribe for more game dev articles, and for the upcoming narrative design articles as well!