Adding Emissions to Custom Textures

Unity comes with a pre-built option to add emission to textures, but this may not always be as precise as we’d like it to be.
In this article, you will learn how to add emissions to your textures precisely.
What is Emission?
An emission is a sort of glow that is emitted from an object or texture. An object with emission can act as an additional light source in your scene but not in the same sense as traditional lighting.
Note: Learn more about the different types of light in Unity below:
Textures with emission are excellent to accentuate environments and add lighting to objects that would otherwise naturally produce them. For example, a glowstick or a lightsaber both produce emissions, but their type of lighting doesn’t fall in the category of the Different Types of Lights in Unity.


How to add Emission in Unity
As previously stated, Unity has an option that allows us to add emission, but it’s not very precise by default.
You can find this option in your object’s texture in the Inspector.

But tweaking it gives us this result:
When we want this result:

This is because there is no specification of where your emission should happen, and where it should remain unaltered.
Modifying your texture to Add Emission
To modify your texture, you will need image editing software like Photoshop or Gimp, I’m personally using Clip Studio Paint.
- Locate your texture in the project folders, then select “Show in Explore”.

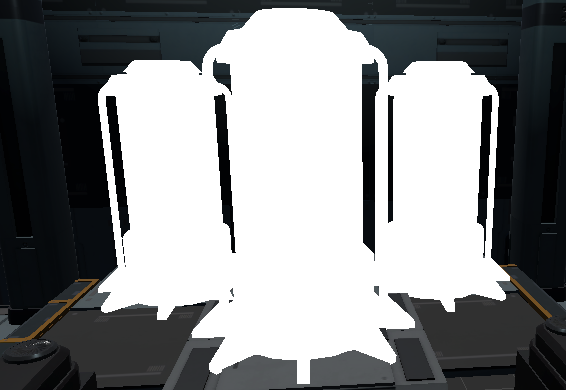
This particular texture has a bit of green to it, that’s where the test tube portion of the object is, and where I want to add emission.
2. Drag your texture from Explore to your image editing software.
Using the auto-select tool, select the portion of the texture where the emission will go.
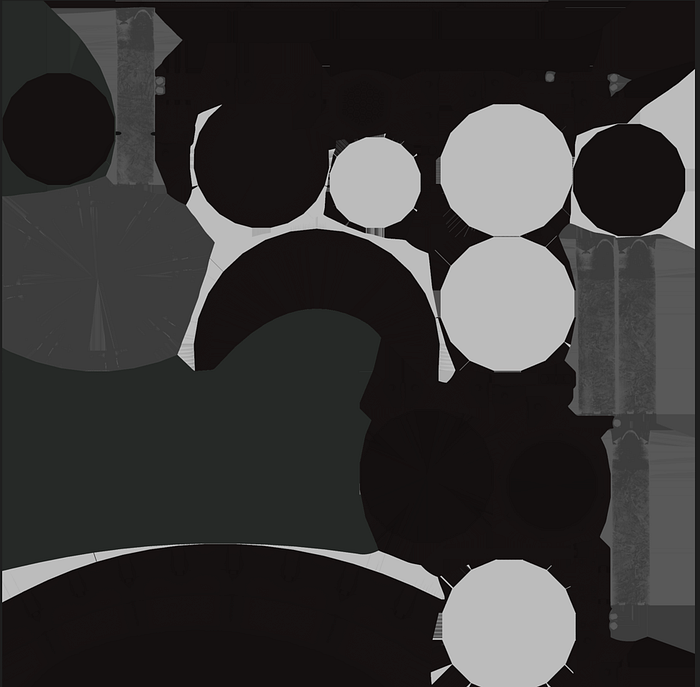
3. This next step will likely vary from software to software but the essential part is that you need to create a new layer and then fill in the color of the previously selected area.
In Clip Studio Paint, this is done by creating a new Fill Layer and then selecting the Fill Color for it. This Fill color can be the color you want the emission to be, or you can set a light color like white or light gray and then set the color within Unity.
4. Now the opposite side must be filled in with a new layer. If you’re working with Clip Studio Paint, remember to Create another fill layer.
This one must be set to black.

5. Save your texture as a PNG, make sure to change the name so that the original texture is left unaltered.
6. Now, back in unity, you can add your emission texture and set the color.
In the next article, I’ll be discussing how to add post-processing profiles in Unity.